
 Daniel Reyes Producing
 30 Apr 2026 · 5 min read
Lighting, audio and backdrop — the three upgrades that count most on camera.
Viewers forgive an ordinary camera; they never forgive bad light or muddy audio. A sharp home studio needs exactly three upgrades, in exactly this order. Everything else is decoration.
Light your face first
One large, soft source at eye level beats any camera upgrade. Sit facing a window or a single diffused panel, keep overhead lights off, and your footage instantly looks twice as expensive.
Fix audio before anything else
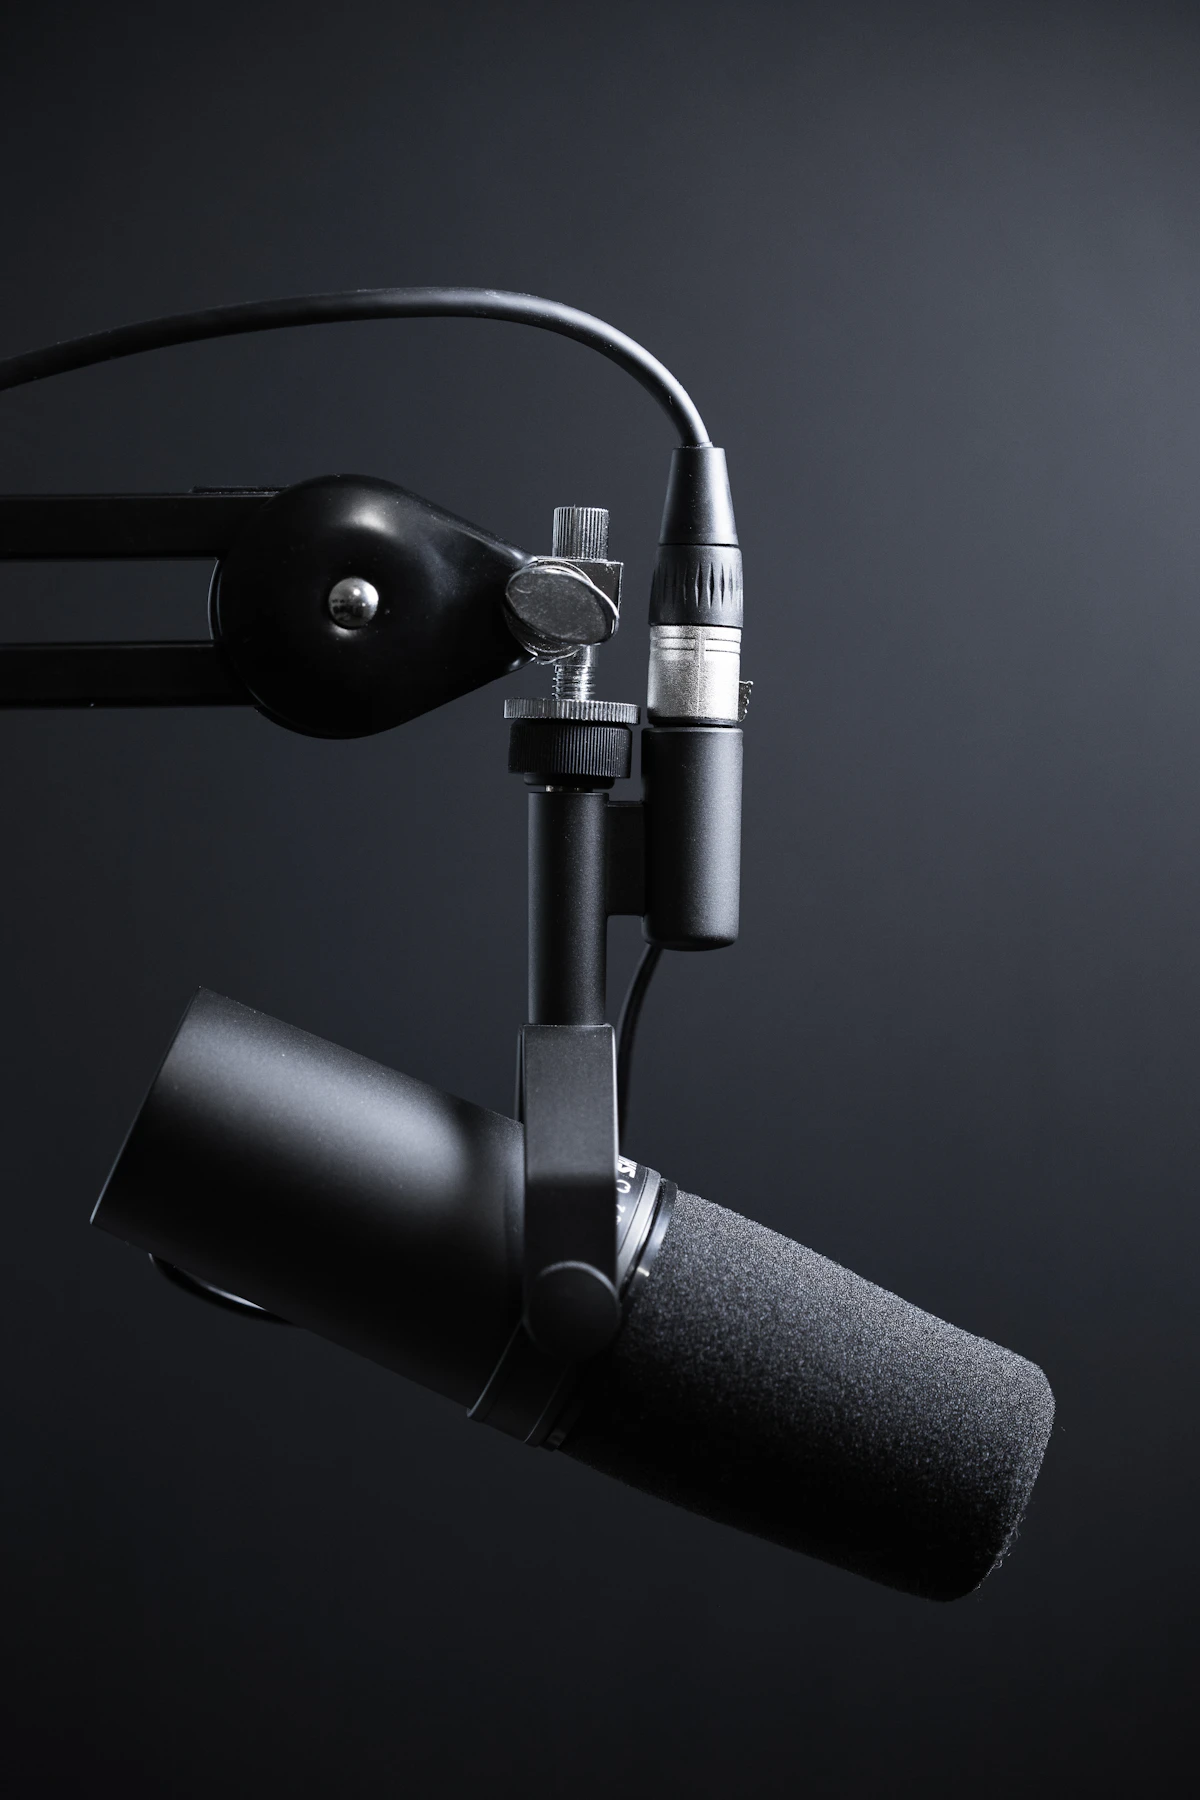
A close, directional microphone in a soft-furnished room outperforms any camera body. Hang a curtain, add a rug, get the mic within arm's reach — viewers stay for clear voices, not sharp pixels.
Dress a shallow backdrop
Keep the background simple, slightly darker than your face, with one or two depth cues like a lamp or shelf. Sit a meter or more in front of it so it falls softly out of focus. Done — you're studio-grade.
Key takeaways
- Buy light before cameras: one soft source at eye level
- Get the microphone close and soften the room
- Keep backdrops dark, simple and out of focus
- Upgrade in order: light, audio, backdrop
See the full under-$500 rig assembled live in the Saturday production session — every item linked in the attendee resource vault.